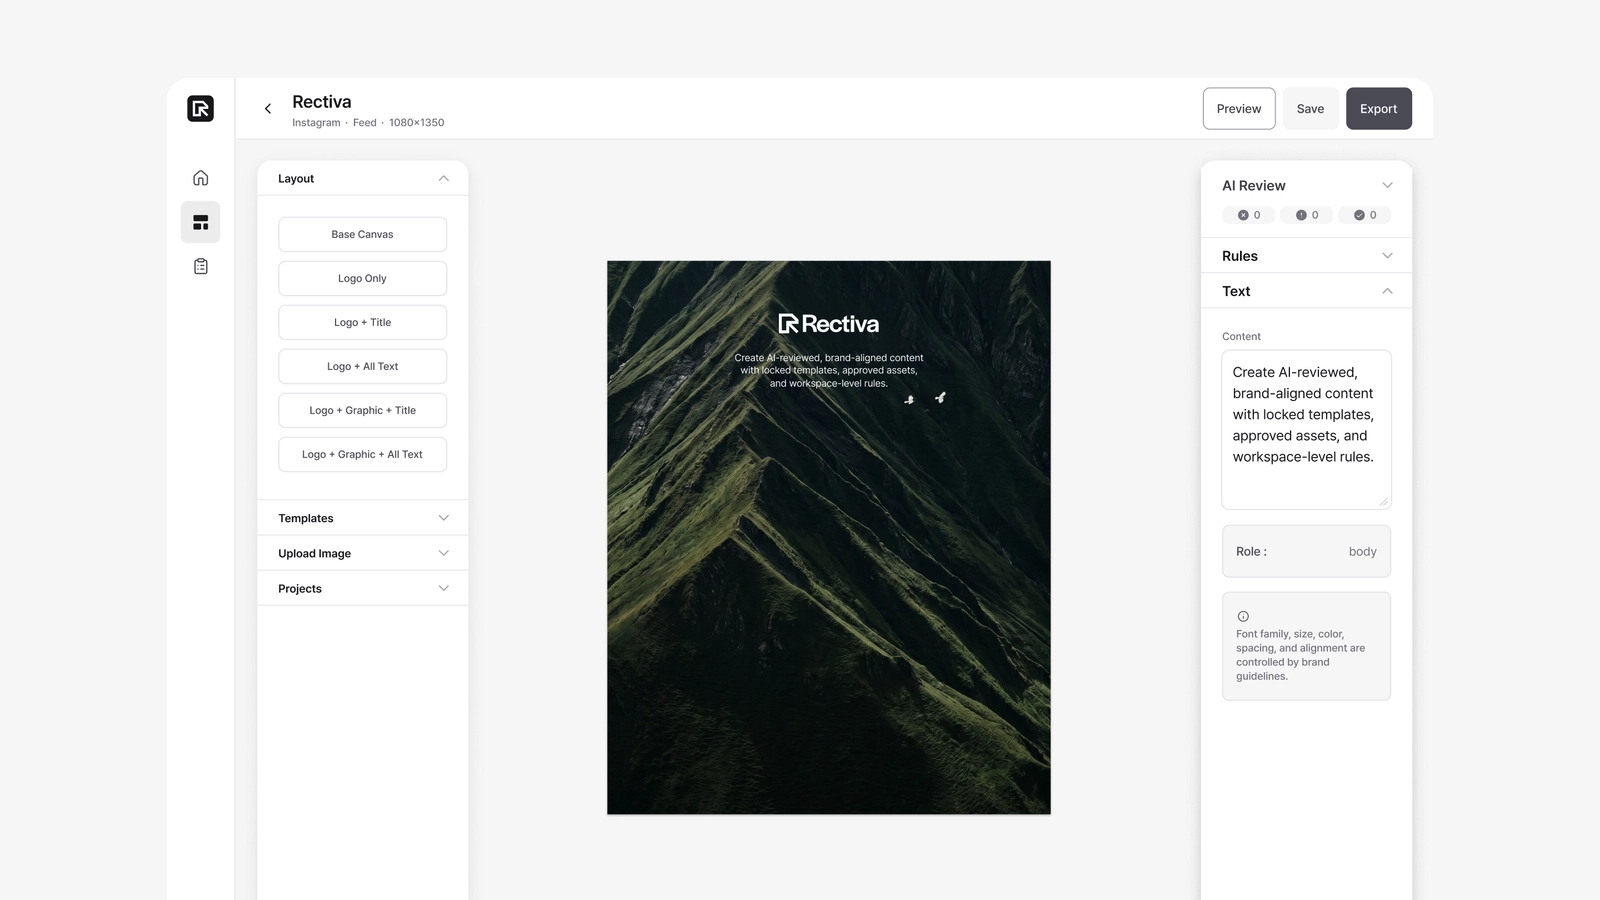
The setup order (Super Admin)
Rectiva's setup steps build on each other, so it helps to do them in order. A font has to be uploaded before a typography profile can use it, and a profile has to be connected to a country before its typography applies to a template. Following the sequence below keeps everything ready as you go:
① AI Rules → ② Asset Library → ③ Typography Profiles → ④ Templates
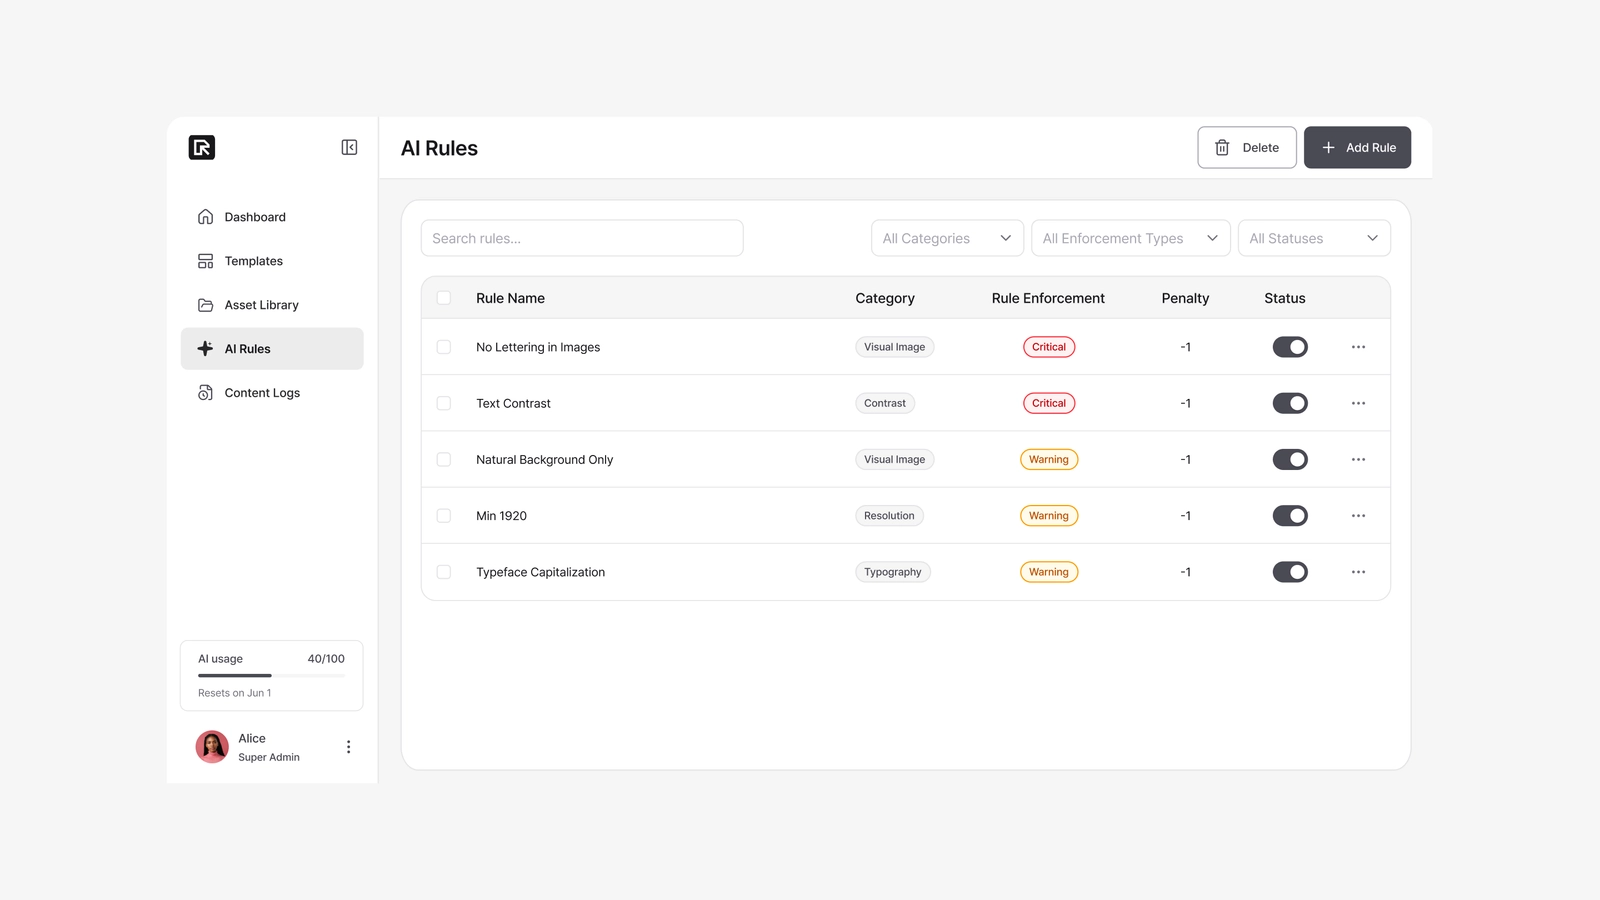
① AI Rules — define what "on-brand" means
Start in Admin → AI Rules. Rules tell the AI what to check: logo contrast, cropped products, forbidden words, and so on. Each rule is either Critical (confirmed before export) or Warning (allowed, but logged). Having a few rules in place first means every project is reviewed from the start — you can keep adding more later.
→ Full guide: Writing AI Rules
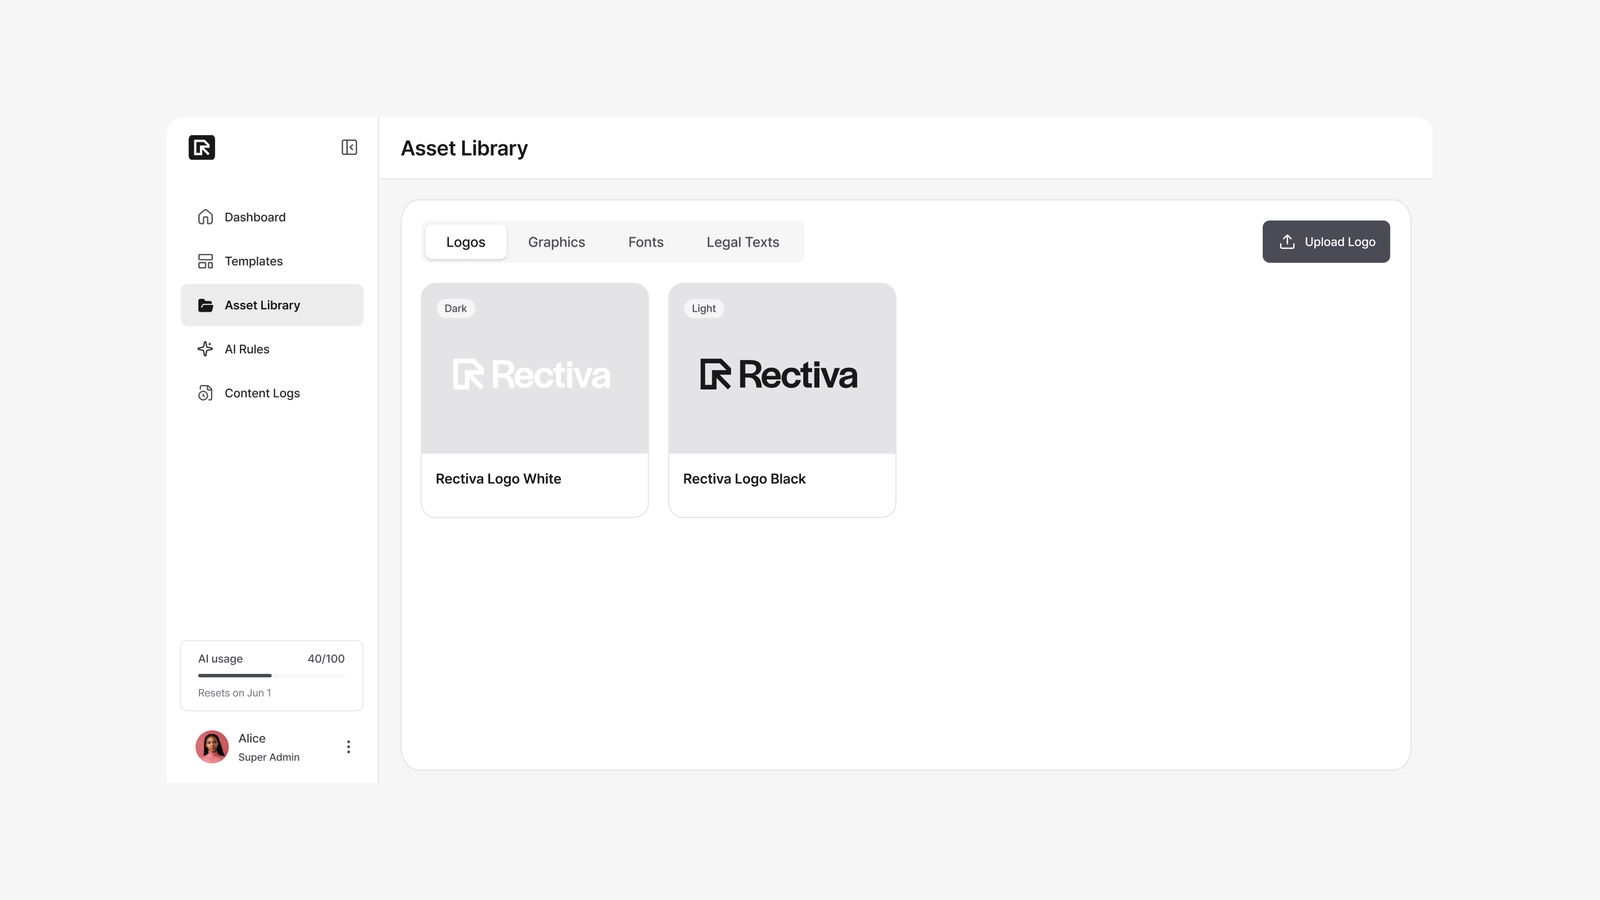
② Asset Library — upload your brand assets
Next, Admin → Asset Library. Upload your logos, graphics, fonts, and legal texts here — everything your templates reference lives in this library. Fonts in particular need to be uploaded before the next step, since typography profiles choose their fonts from your library.
→ Full guide: Asset Library
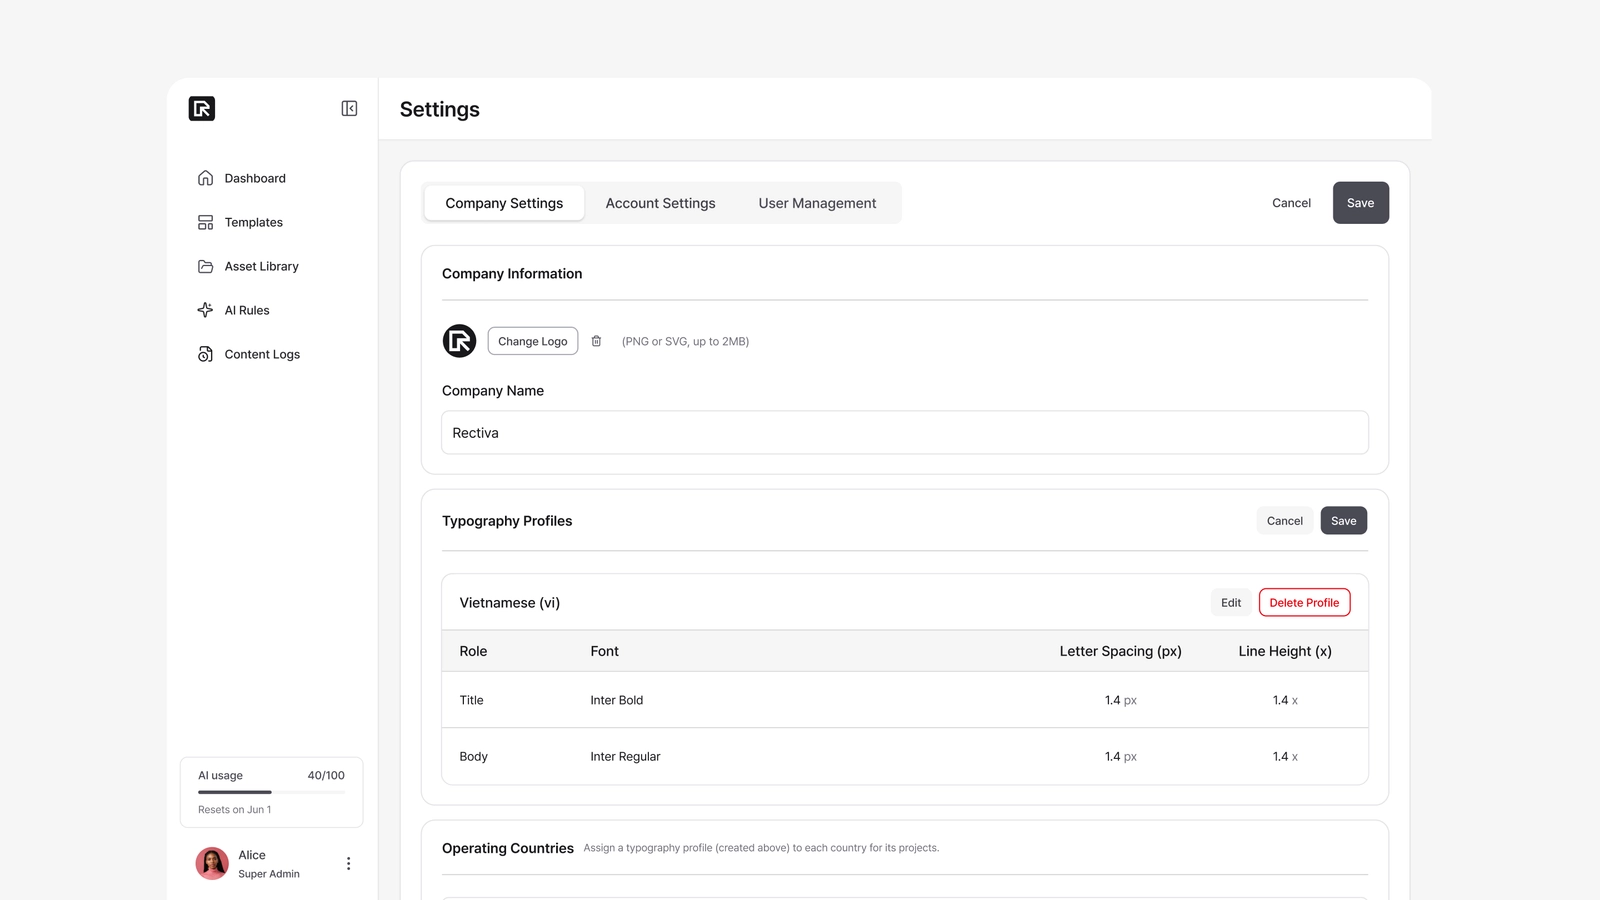
③ Typography Profiles — tune type per language
Then, Admin → Settings → Company Settings → Typography Profiles. Create one profile per language, setting the line-height and letter-spacing for Title and Body text. After creating a profile, connect it to a country in the Operating Countries section just below — a profile applies to projects once it's linked to a country.
→ Full guide: Typography Profiles
④ Templates — build the layouts
Finally, Admin → Templates. Build the templates your team will use. Place text, logos, and images on the canvas, and mark which text elements are Local Language so they pick up each country's typography profile.
→ Full guide: Creating Templates
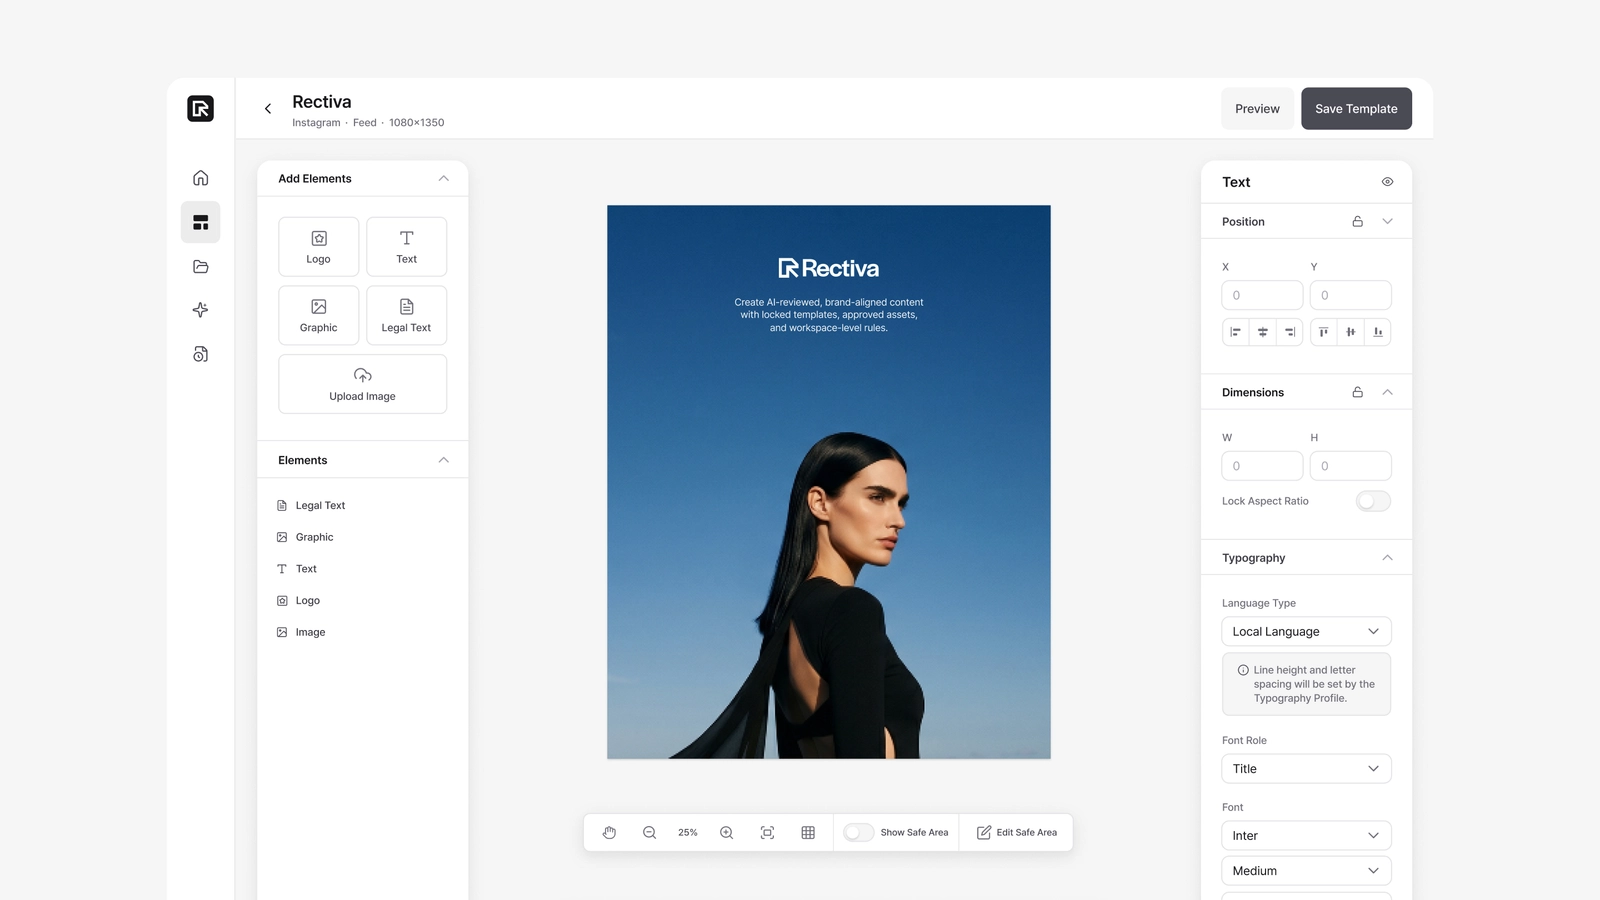
What your team sees once setup is done
With all four steps in place, an Editor in (for example) Vietnam can:
- Open one of your templates,
- Turn on "Apply local typography" when creating the project,
- Start with a canvas where local-language text already uses the right line-height and letter-spacing,
- Edit, pass AI Review, and export — all within your brand rules.